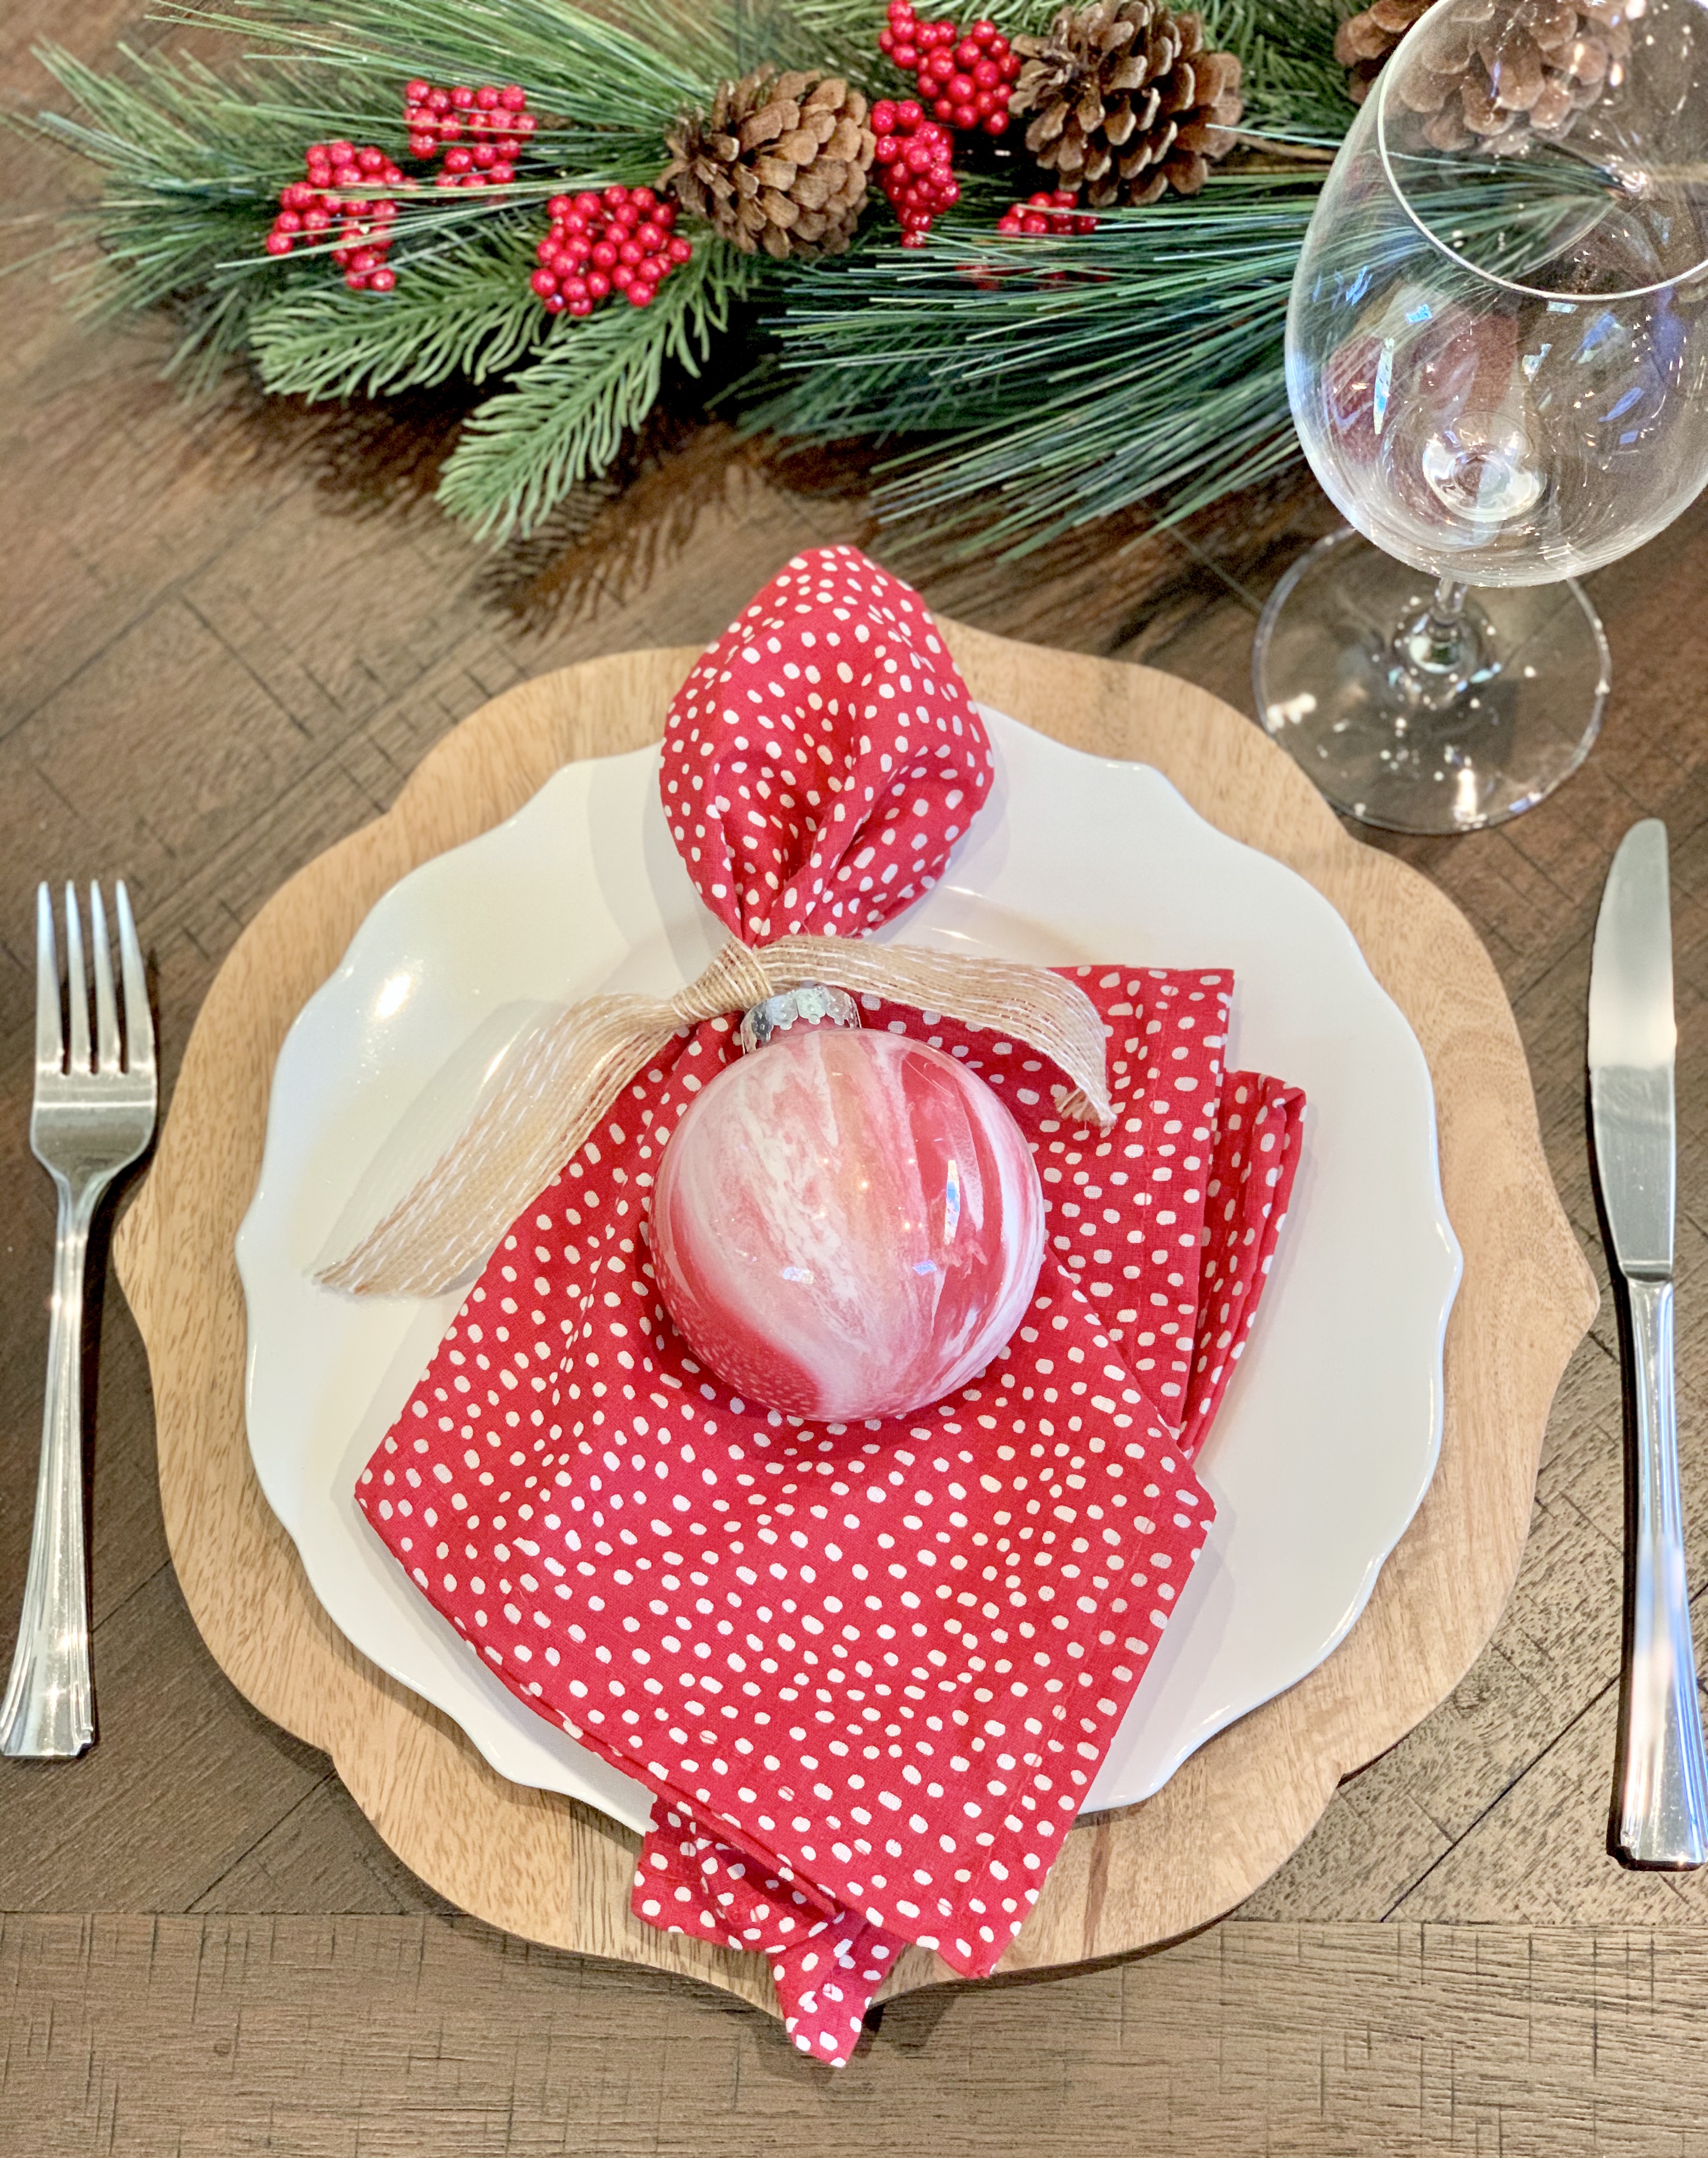
I’ve been in such a marble mood lately. haha I wish I could marble everything. I’ve done coasters, pumpkins and now ornaments. I will be trying marble cookies soon too! Ok, back to this DIY – it’s cheap and easy, just how I like it! Ha!
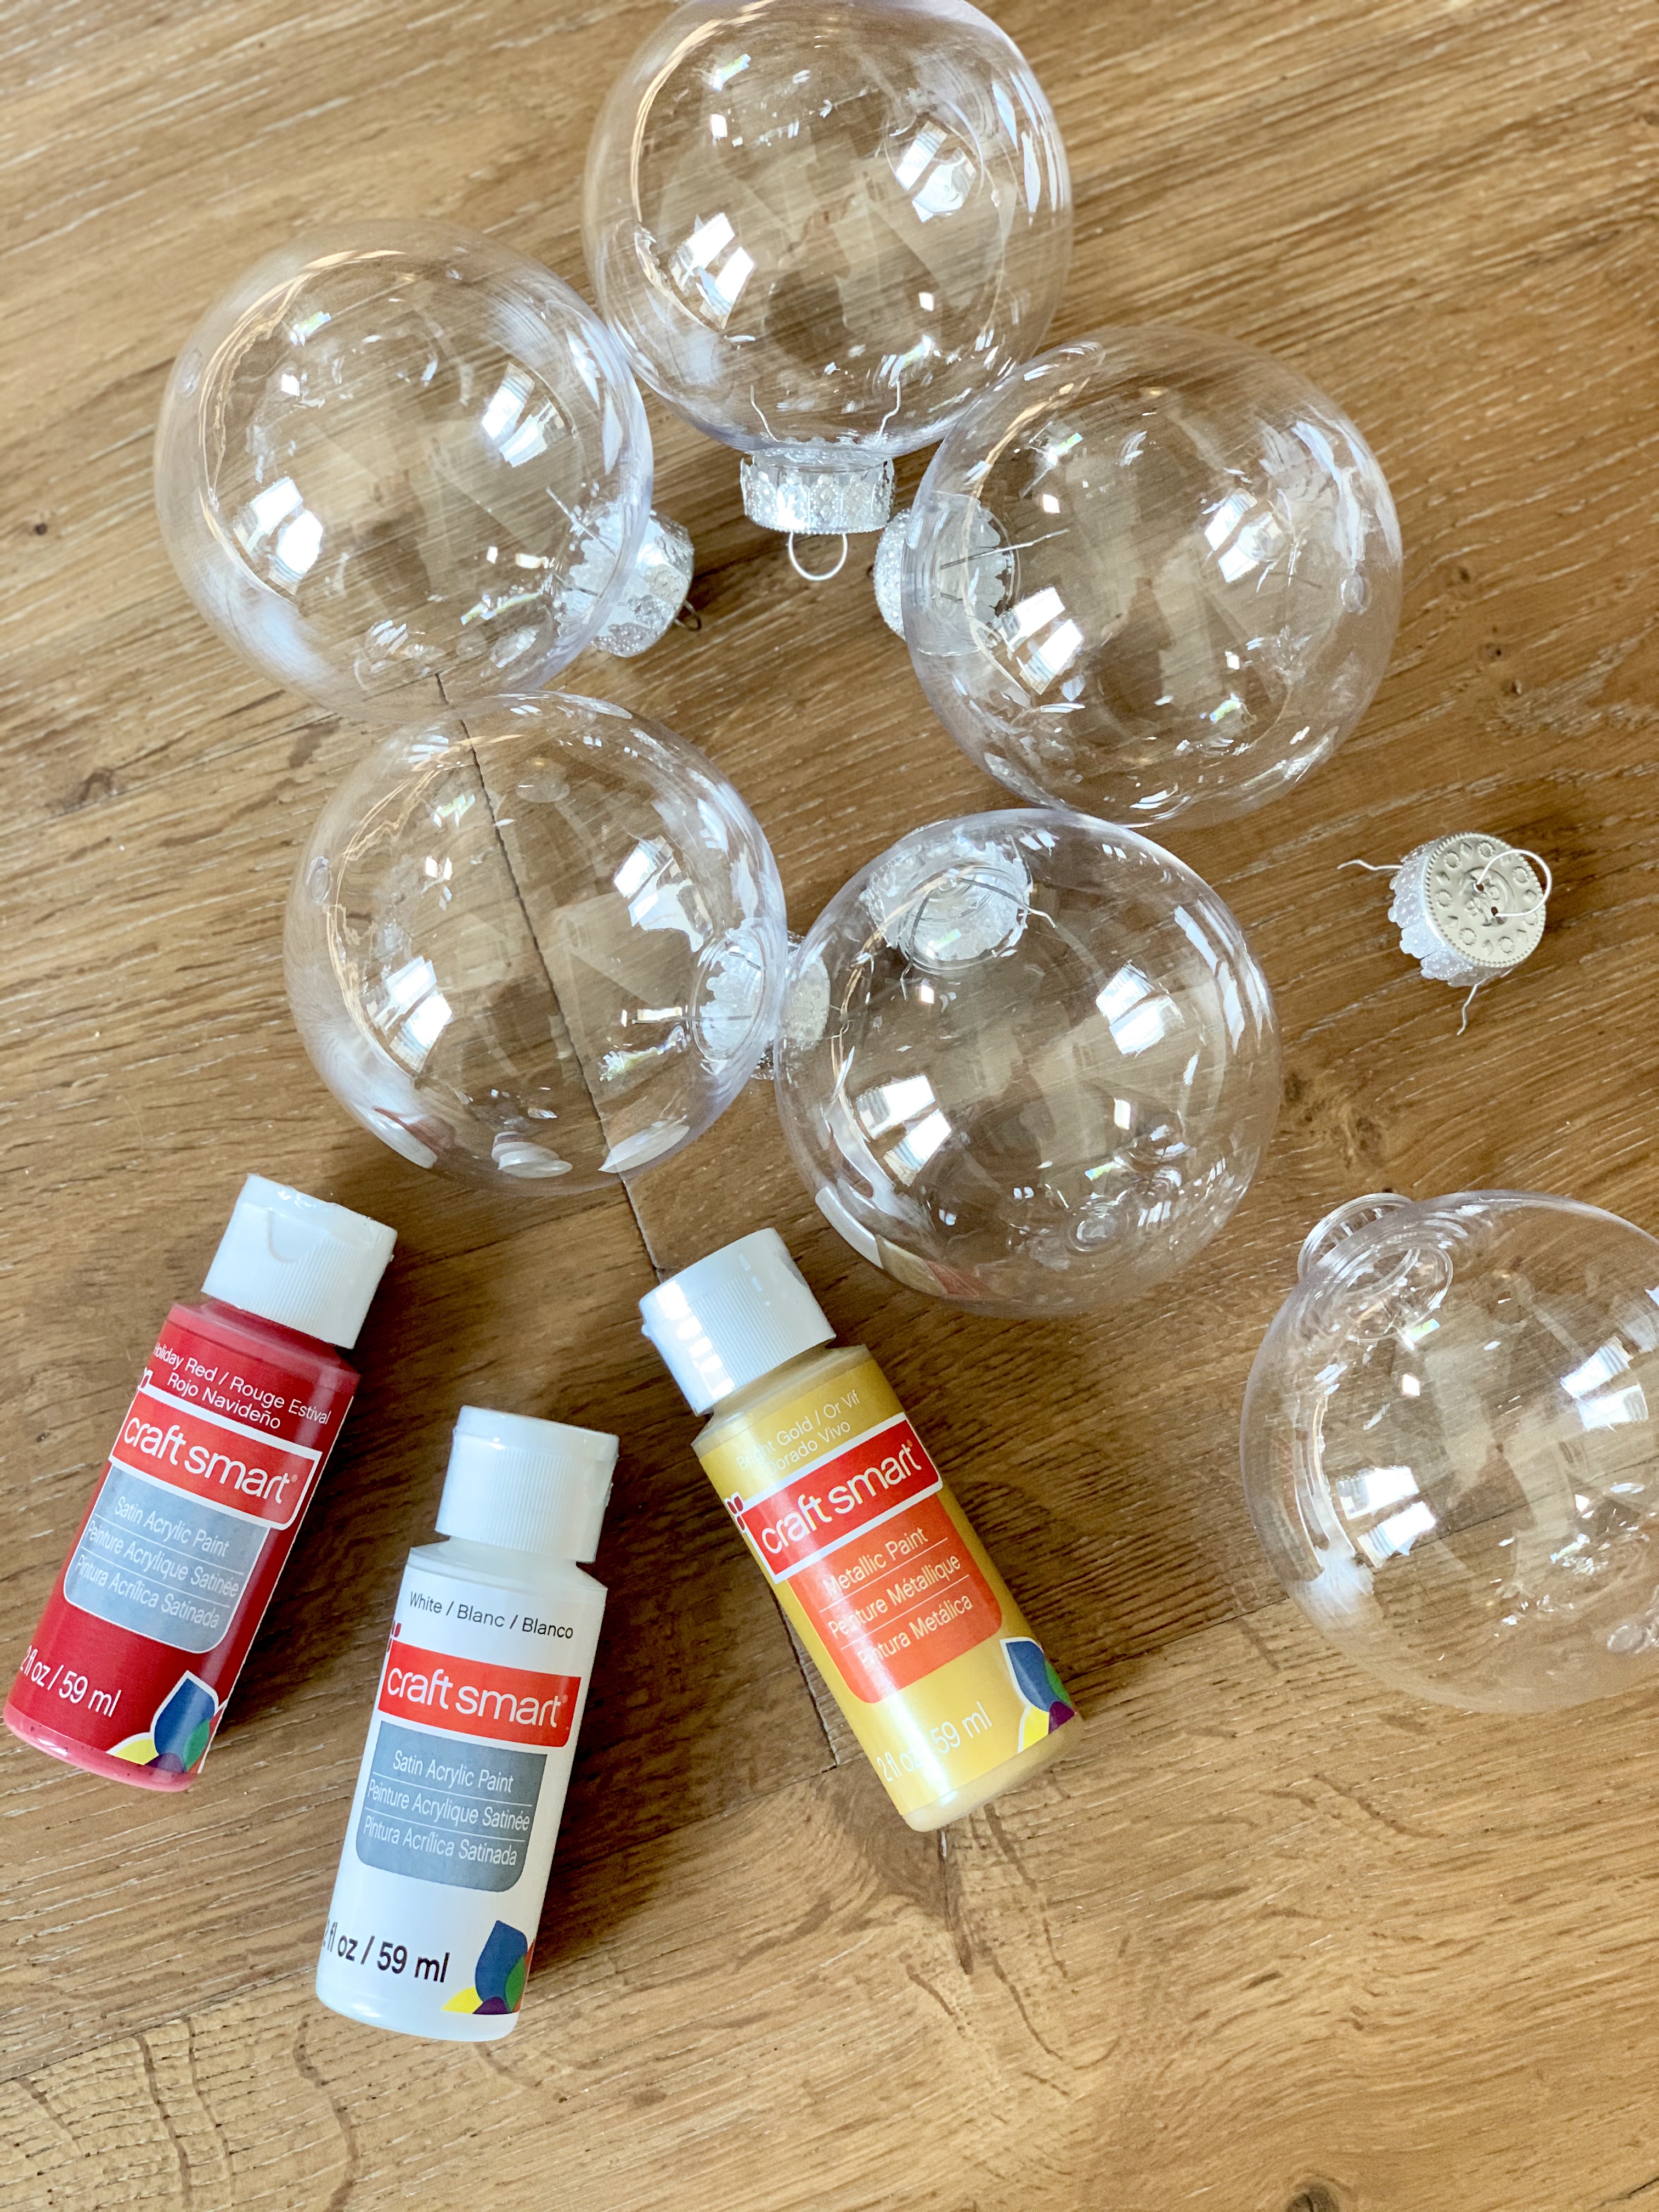
Supplies you will need:
Set of clear plastic ornaments
Acrylic Paints, colors of your choice
Disposable cups, to drain the paint
Step 1: Pop out the ornament cap. Slowly pour paint into the ornament, letting it drip down the sides. Continue with the other colors.
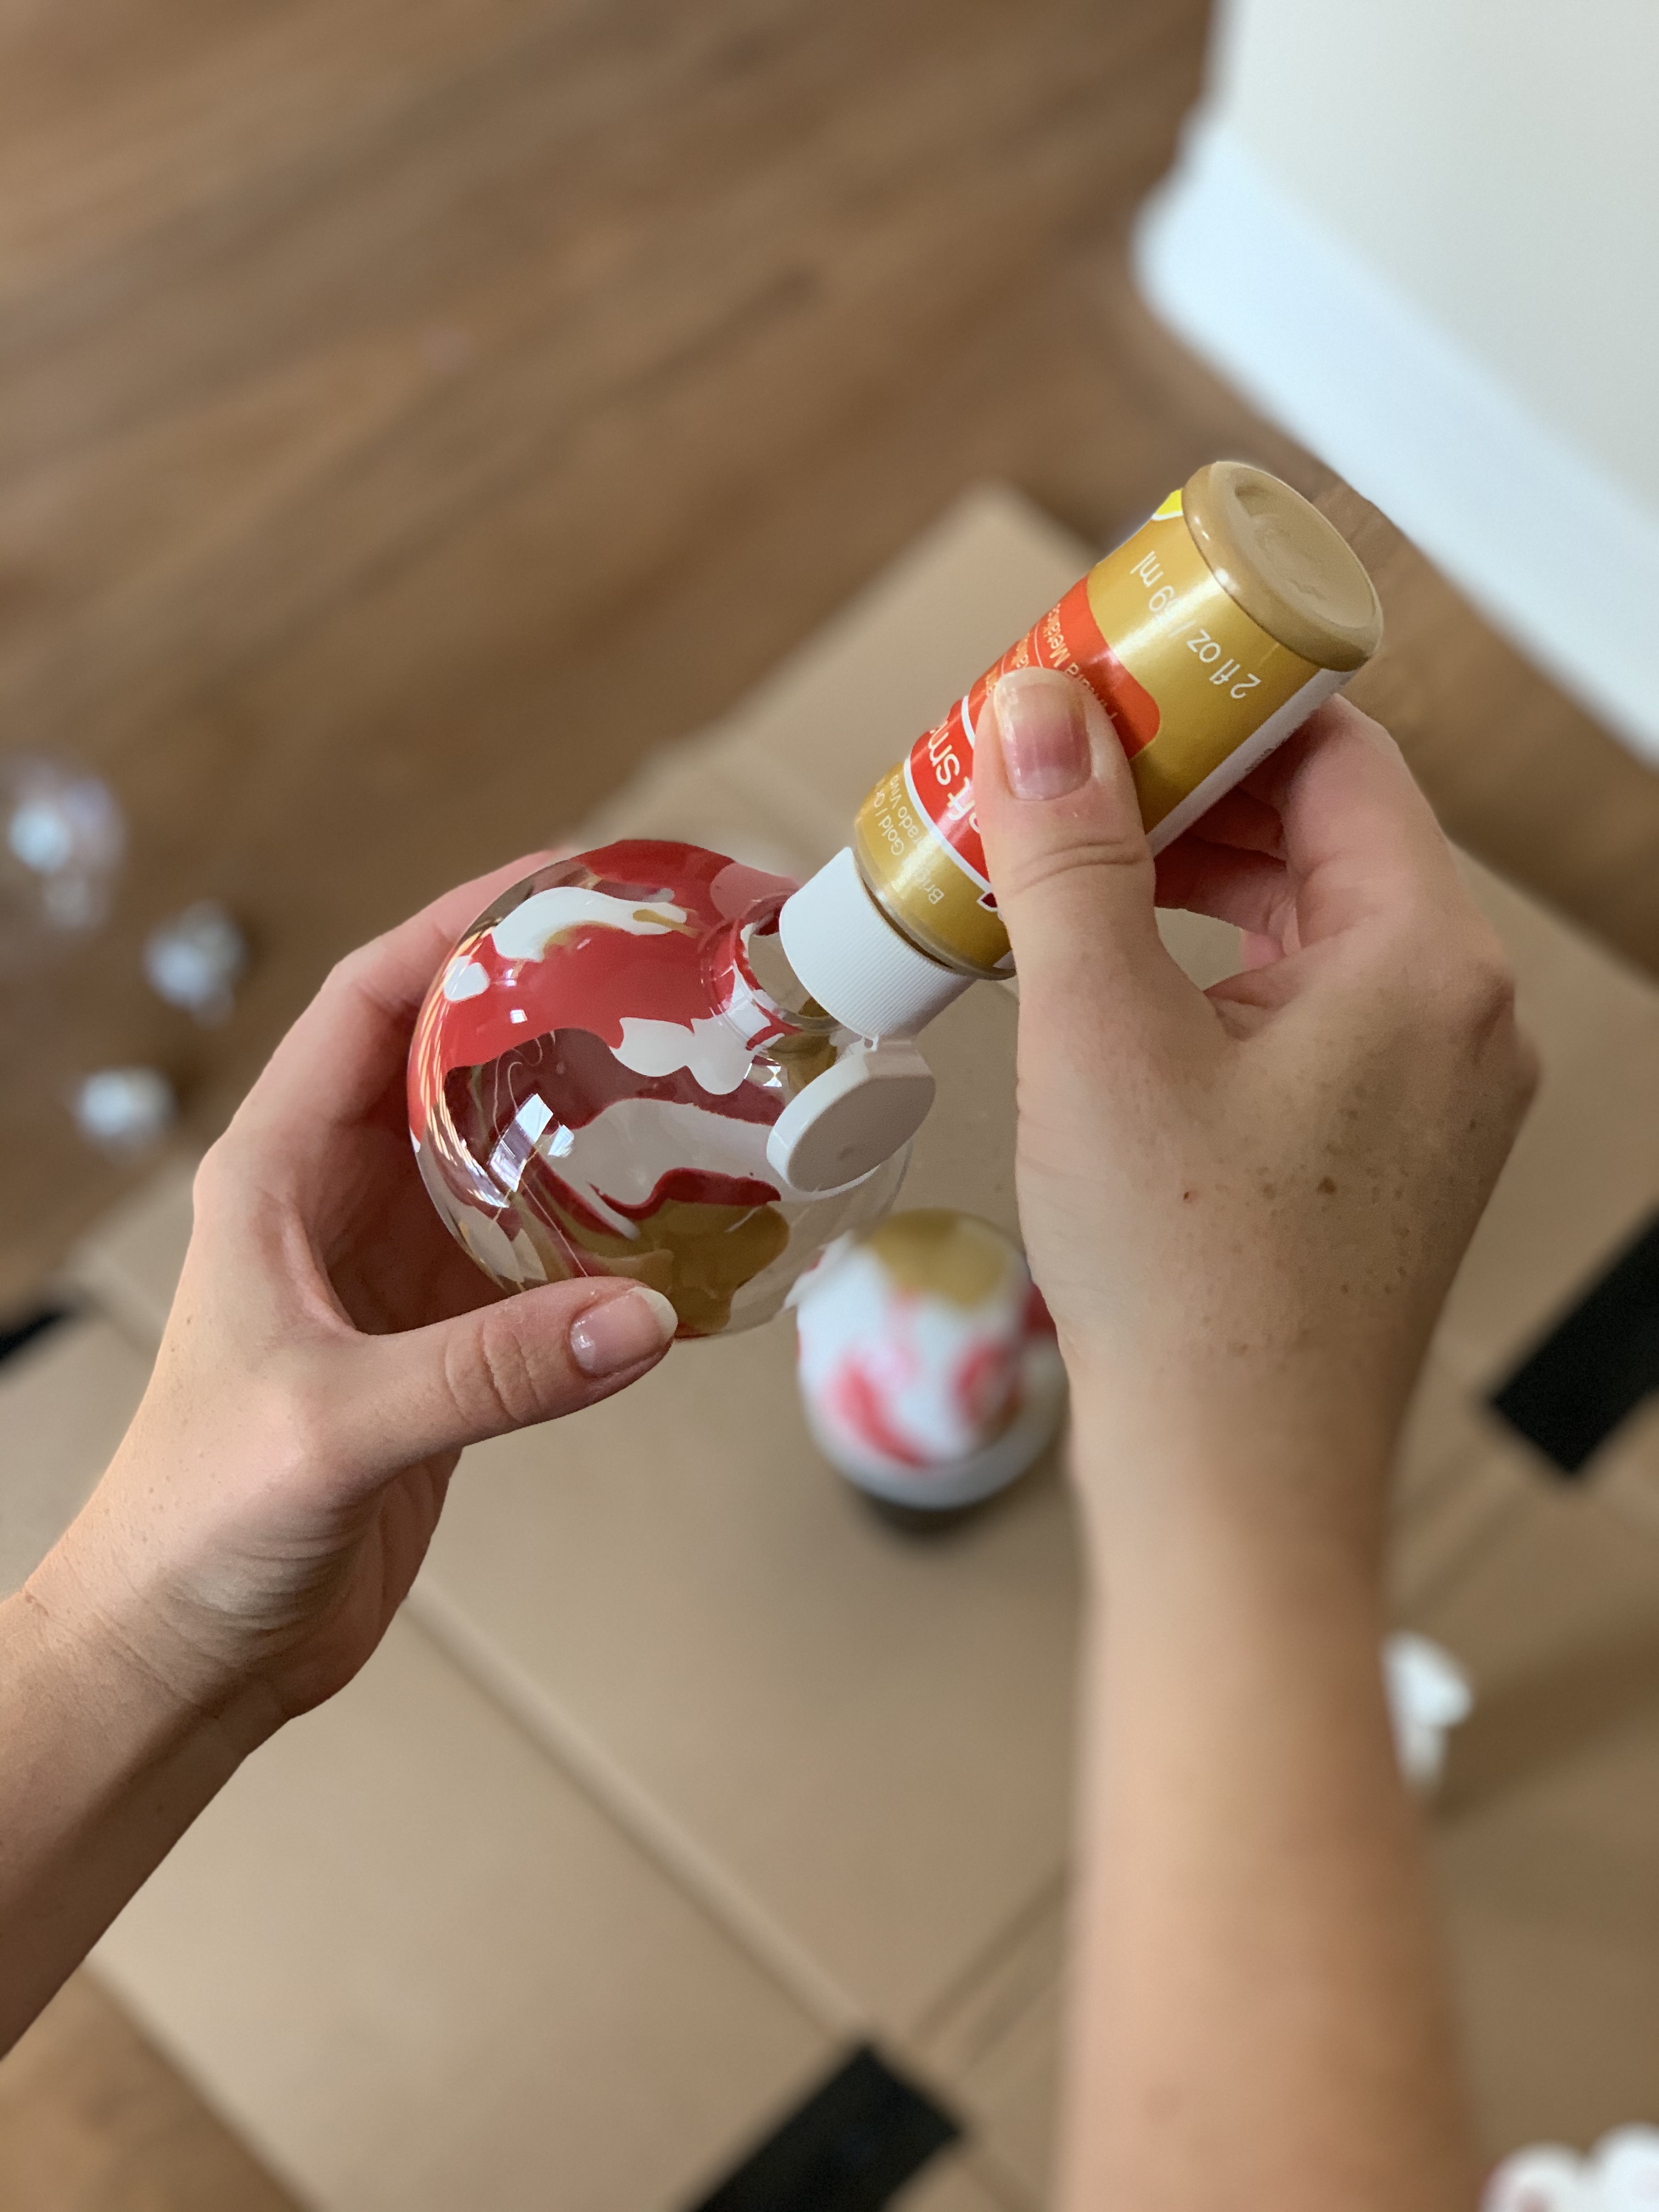
It’s easy enough for my 5 year old! Great to do with the kids!

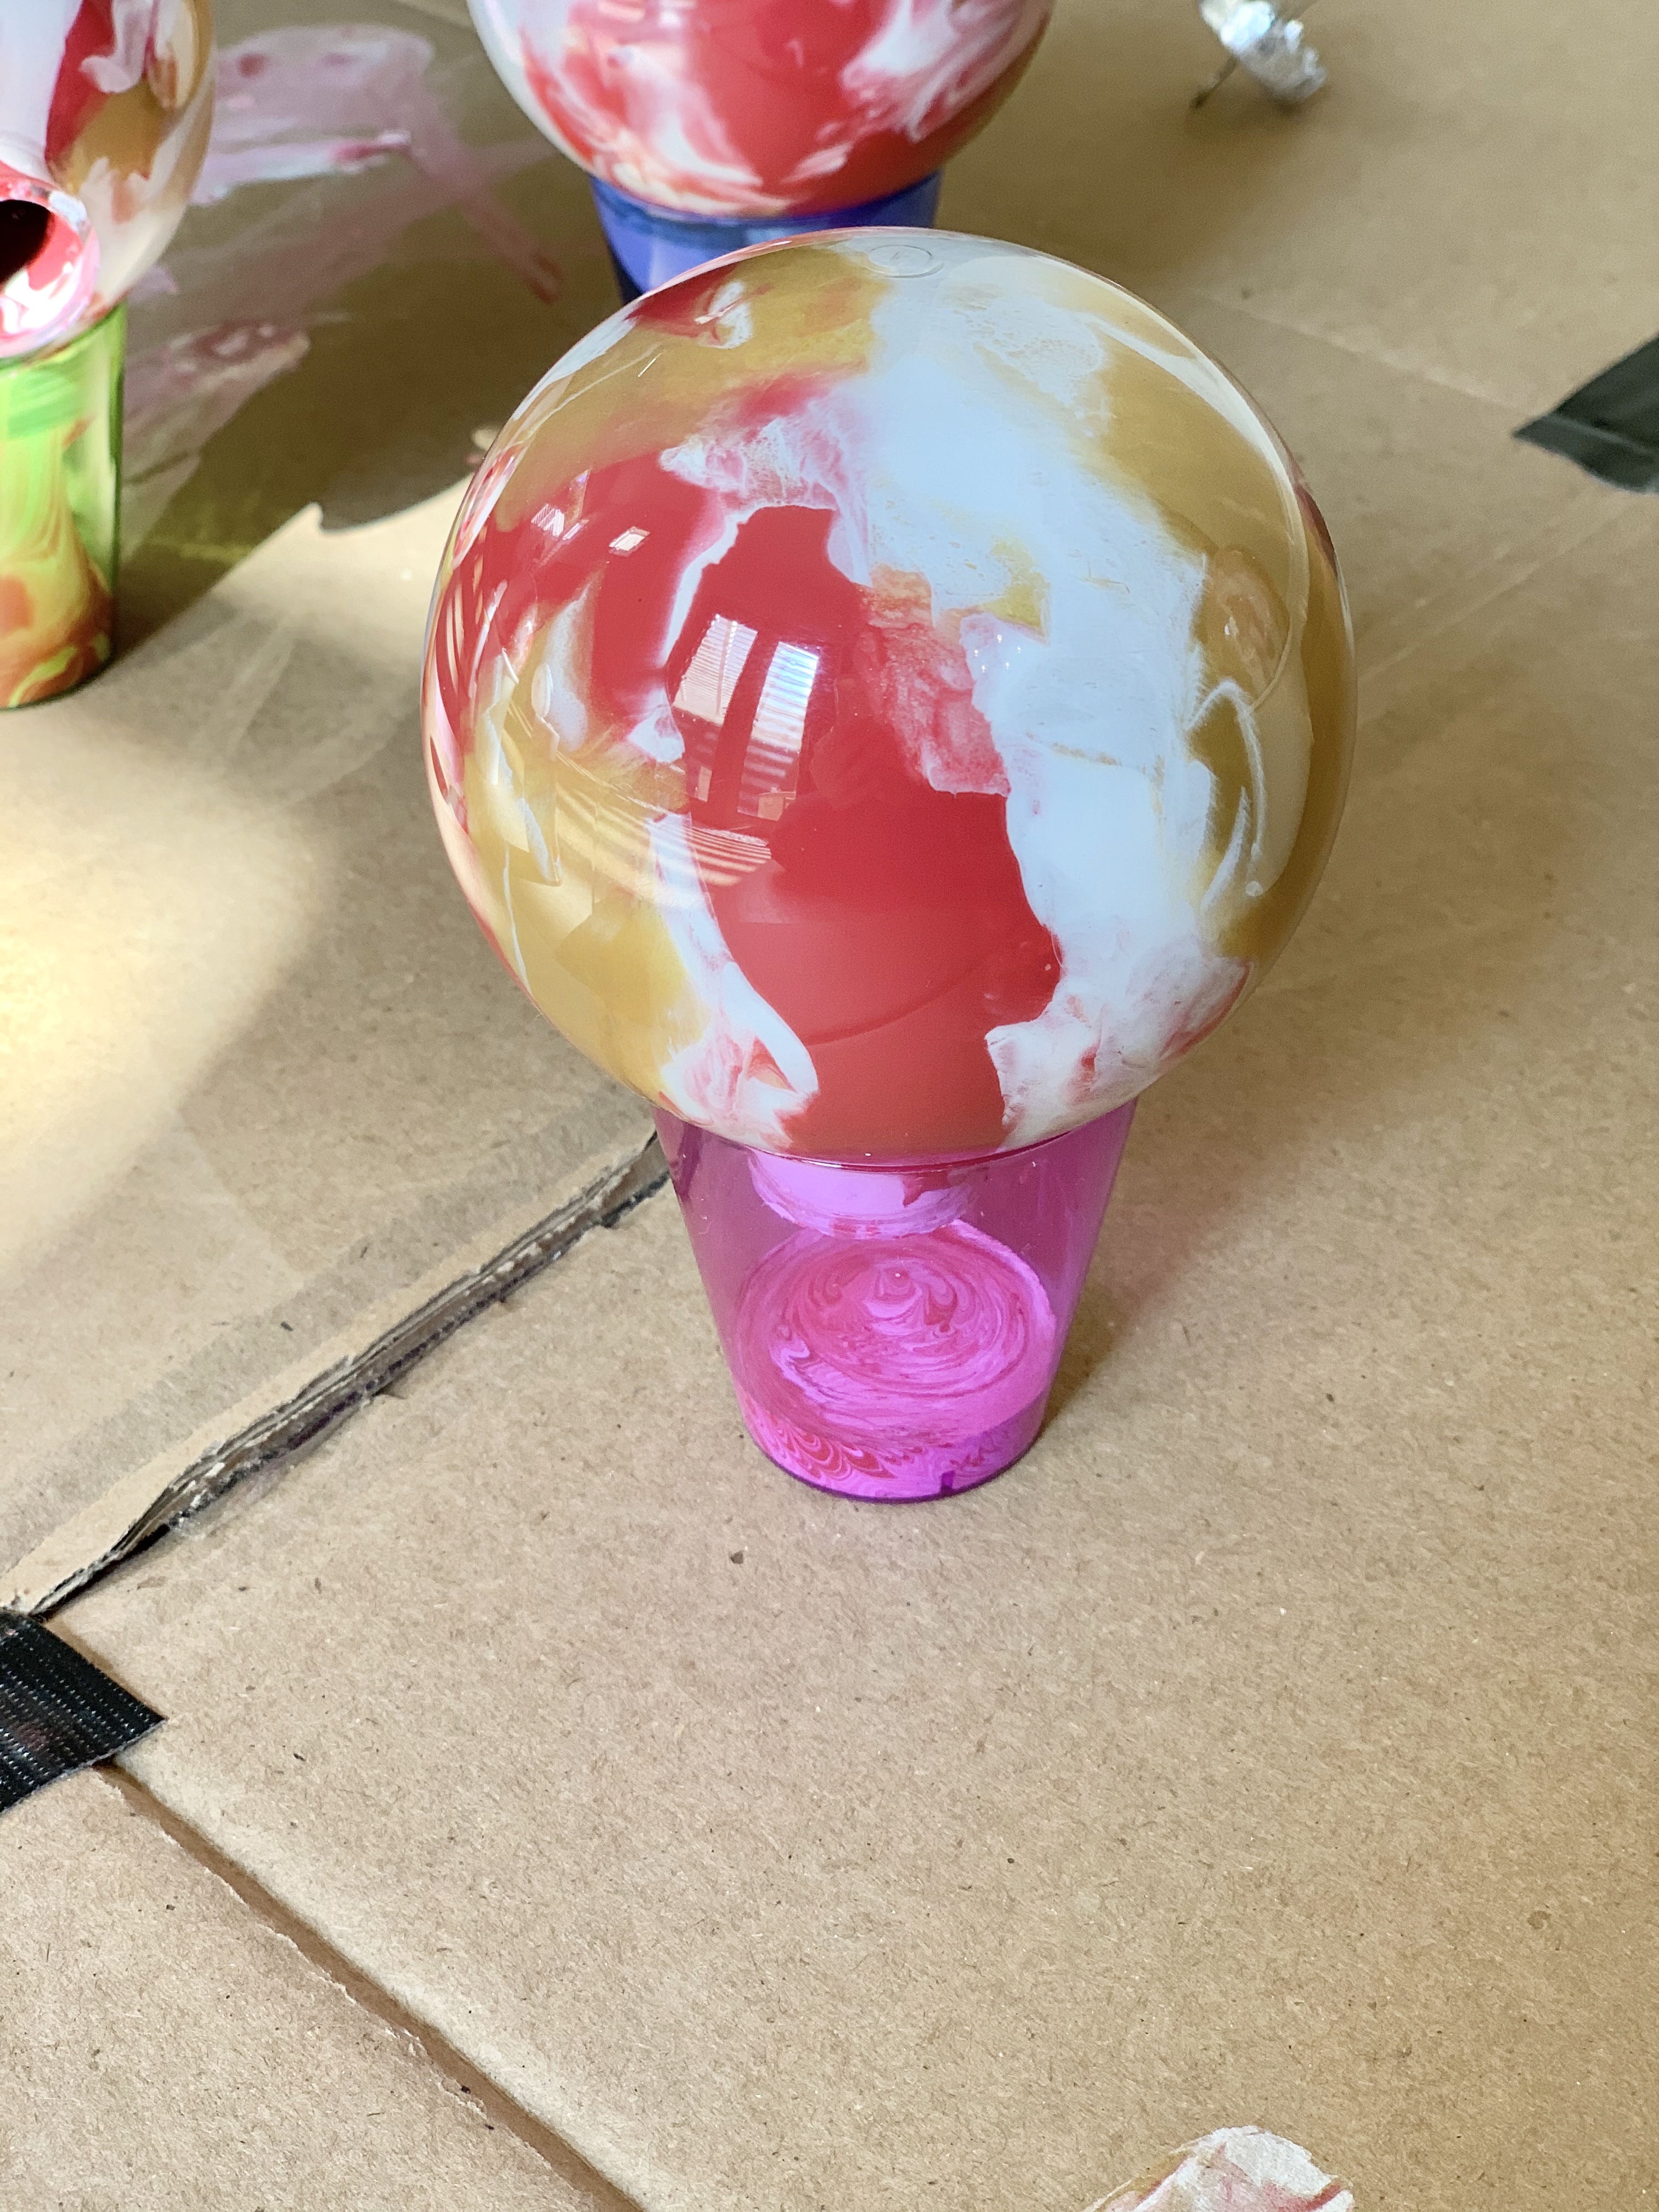
Step 2: Swirl it around to marble the paint colors together. At first it will look like the photo below – blotchy, clear spots showing. You just need to keep turning it. Set the ball on a disposable cup and let it drip down to the clear spots that are left. This is a process. You can leave them sit for a few minutes in between “turns”. Just keep twisting and turning it.
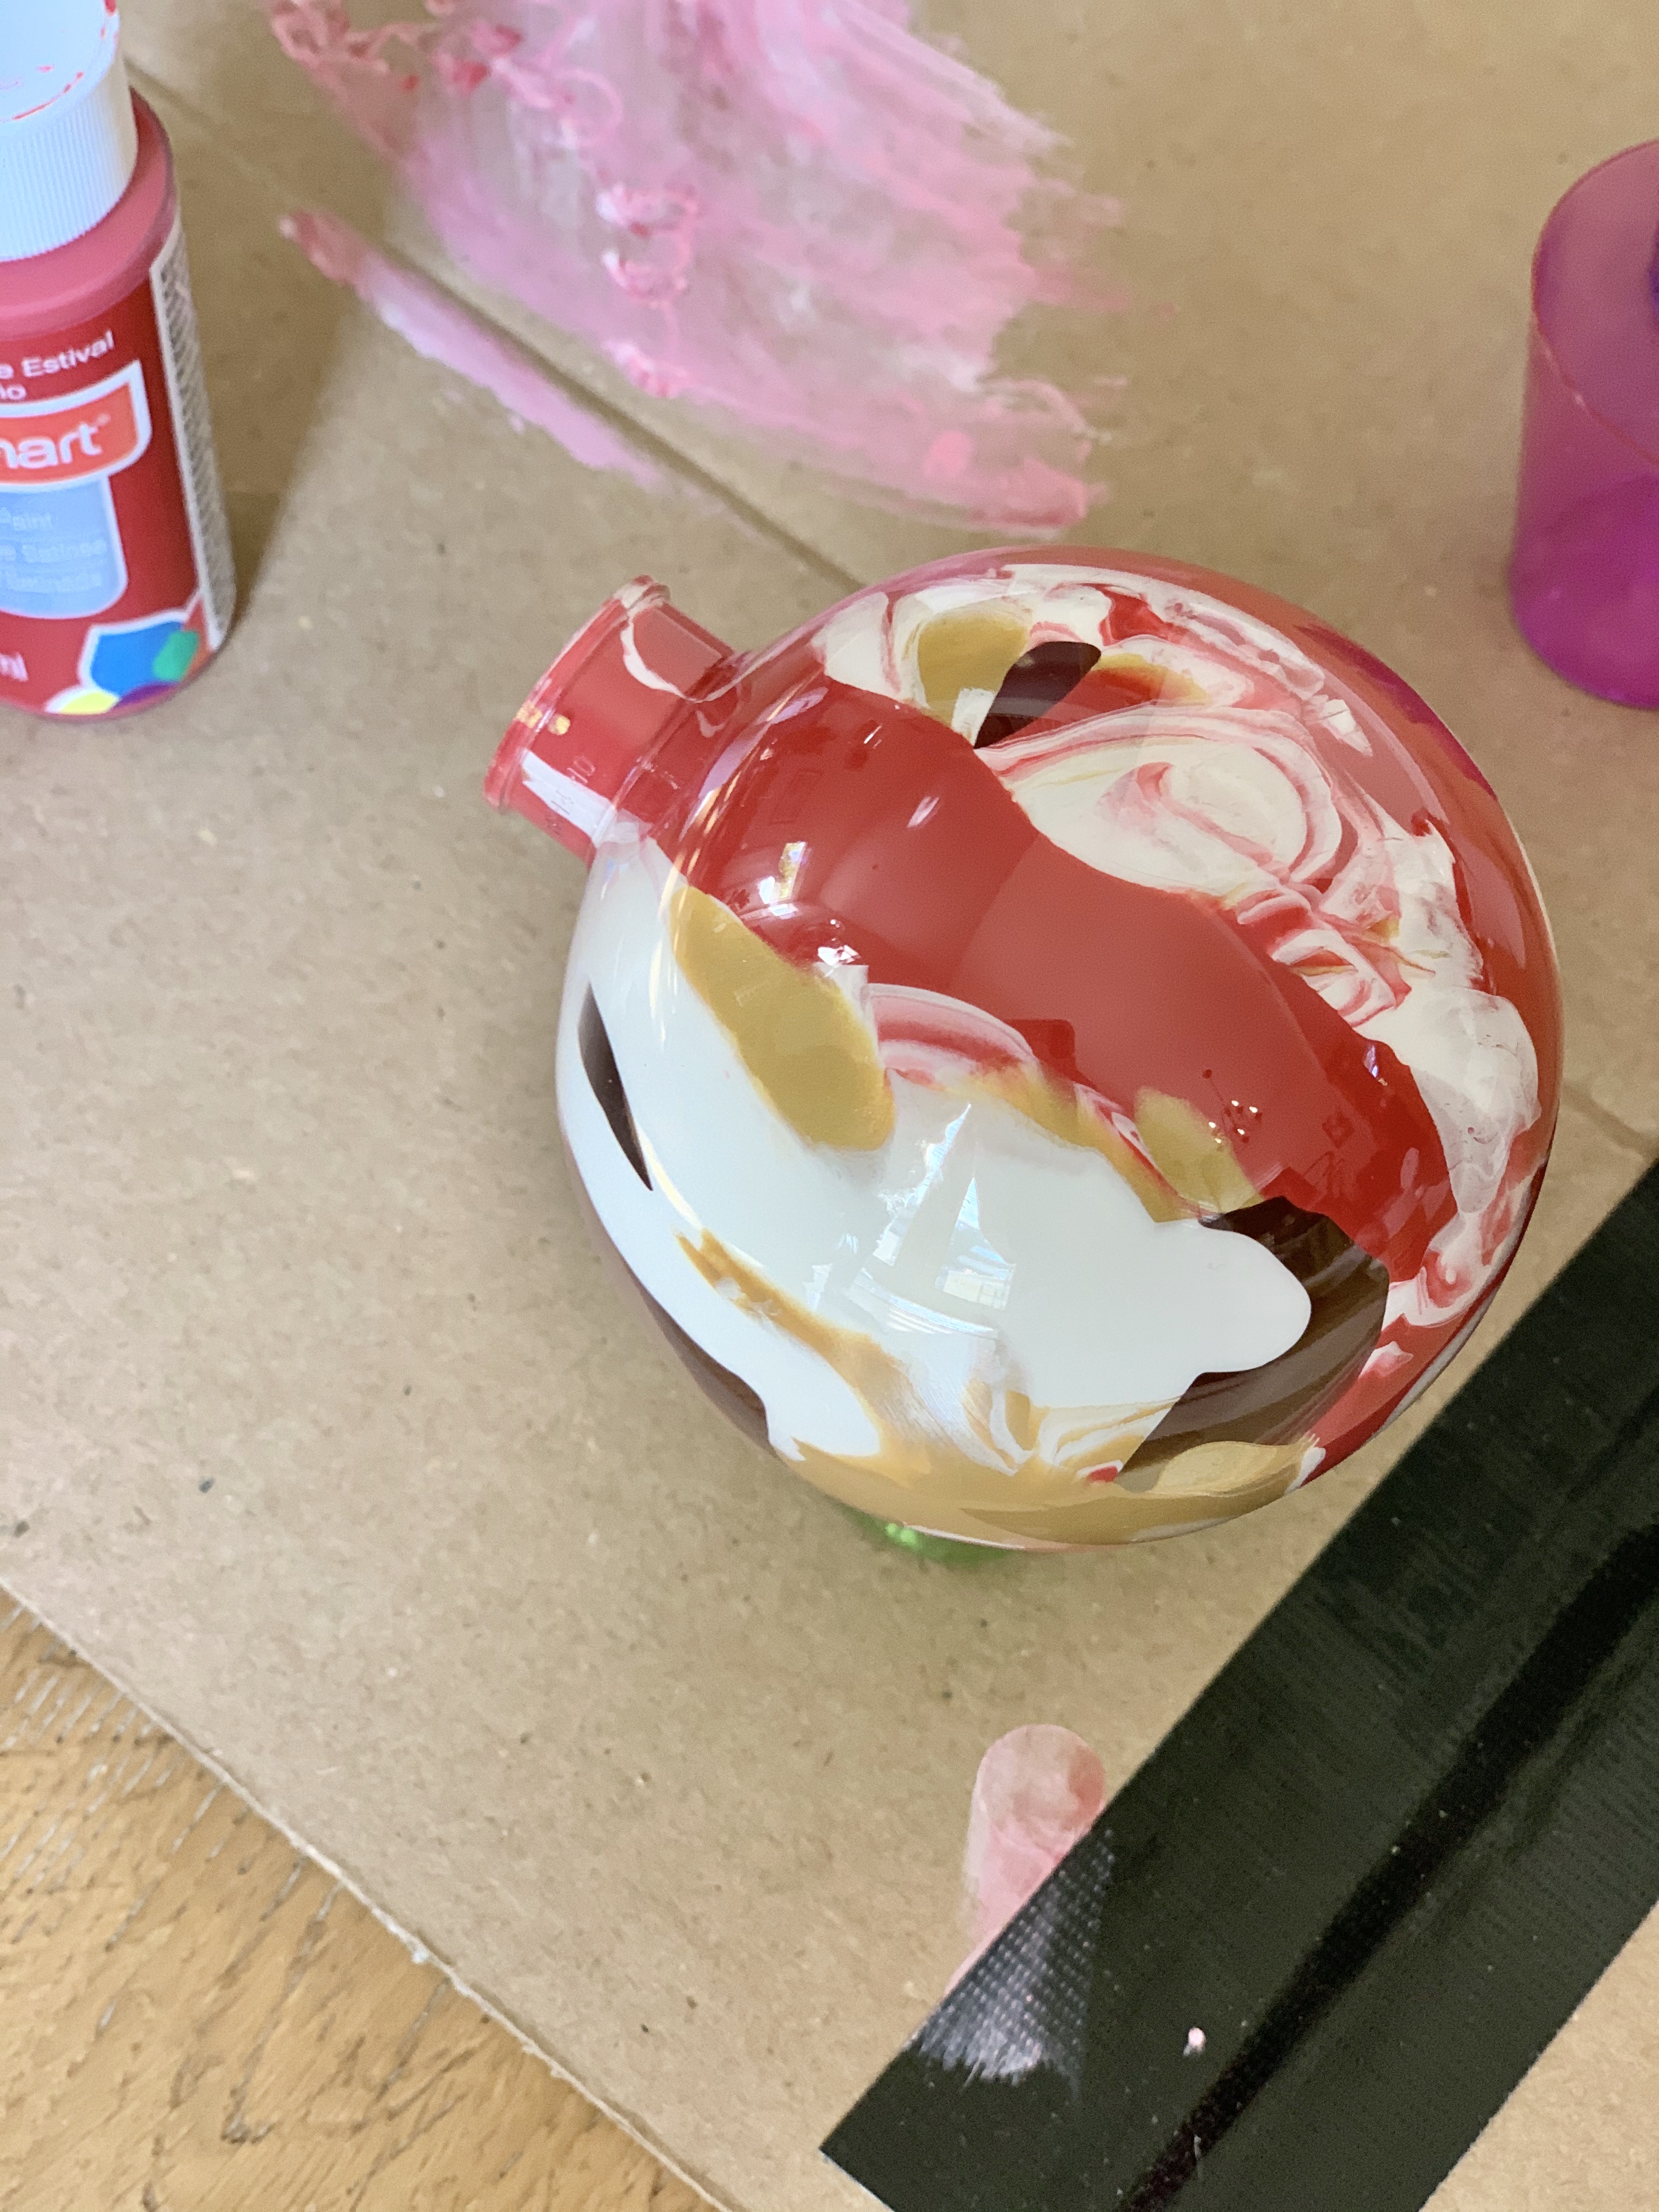
Step 3: Once you have full coverage on the ornament, turn it upside down and let the extra paint drip out into your disposable cup. Once you are happy with your marble look, you can let it drip dry over night. You will notice that as the day goes on, or over night, it becomes an even better marble look!
Hope you enjoyed! Pin for later:
#diy #marbleornaments #christmas
Leave a Reply