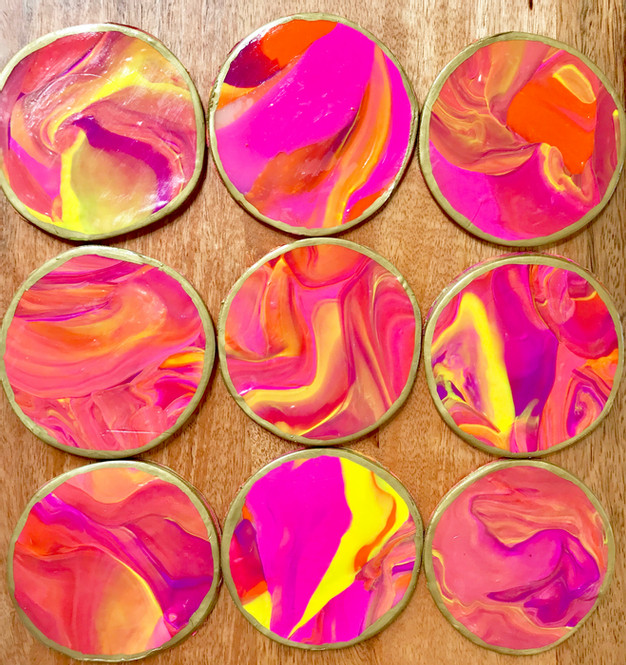
Hi all! I’ve got a bright and fun DIY you will have to try! I am kind of obsessed with how these turned out. I even had a little helper, my 4 year old daughter! So it’s pretty easy and does not take very long to make. The neat thing is that no two coasters will look alike. Endless possibilities! Check out these vibrant coasters!!
Disclosure: Some of the links below are affiliate links. If you click through and decide to make a purchase, I will earn a commission at no additional cost to you. See my full disclosure policy here.
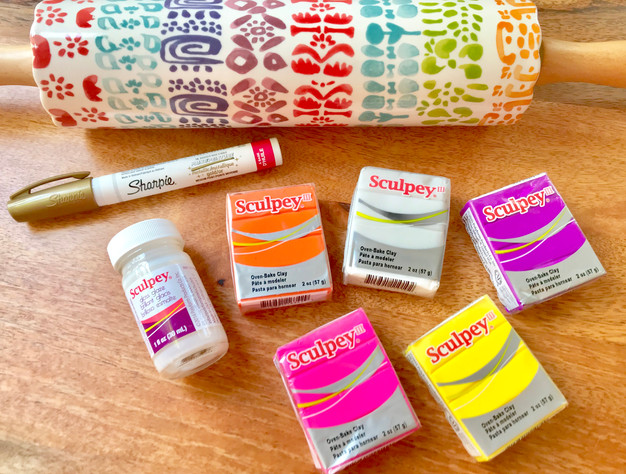
Here are the supplies you will need:
Oven bake clay, in a variety of colors
Rolling pin
Gloss glaze is optional, but it’s recommended. It will make the coasters last longer, keep them protected from liquid and give a slight shine to them.
Paint brush
Baking sheet
Parchment paper
Circle cookie cutter, or you can use the rim of a large drinking glass, or a mason jar lid.
I used a lid to a can of Betty Crocker Frosting. HAHA! Hey, you don’t need to have every little craft tool, just improvise. Also, I used 5 packs of 2 oz. clay bricks and that made 9 coasters.
First you will want to unwrap all of the clay and cut them into chunks.
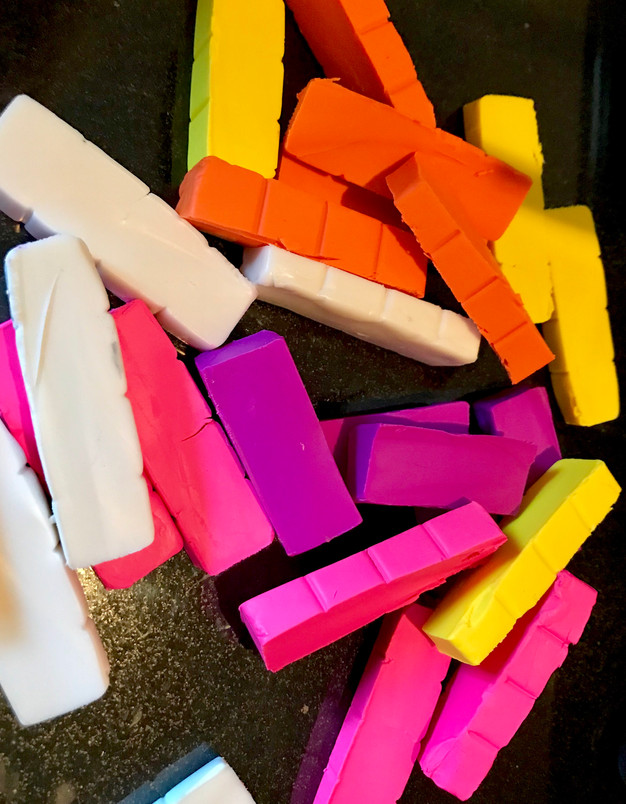
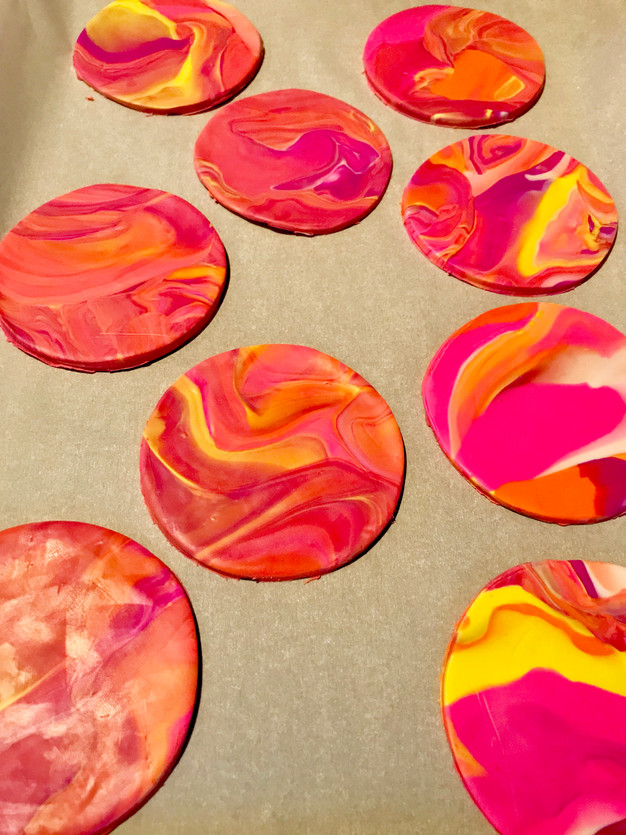
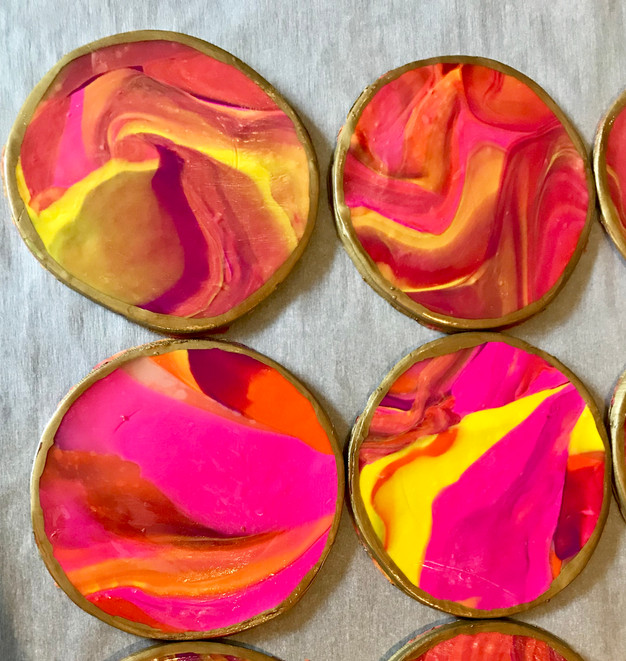
Next, you take each chunk and roll them into long, thin strips using your hands on a clean surface. It’s ok if the strips are of different lengths or thickness. After they are all rolled out, take different colored strips and twist them together and roll into a ball with your hands. Roll out the ball with a rolling pin. If you like the marble effect that you have thus far, roll until you have about 1/4 of an inch thickness. If you would like it to be a little more marble-y, pick it back up and roll into a ball again. Repeat the steps of using the rolling pin to roll to 1/4 inch of thickness. Once you have the desired marble look, use your circle cutter to cut your coaster.
Transfer to a baking sheet lined with parchment paper. Repeat all of the above until you’ve used all of your clay. When you have all of your coasters on the baking sheet, smooth out any imperfections and just make sure they are all flat. I baked my Sculpey clay for 25 minutes on 275*. You may want to check the instructions for your clay if you use a different brand, but in general, this should work for all oven bake clay.
Once your coasters are completely cooled, use your metallic paint pen to paint the sides and top 1/8 inch rim to give the coaster a finished look. You can seal your coasters with a very thin layer of the gloss glaze. And you’re finished!
Here’s another video of finishing up the coasters with the paint pen and gloss!
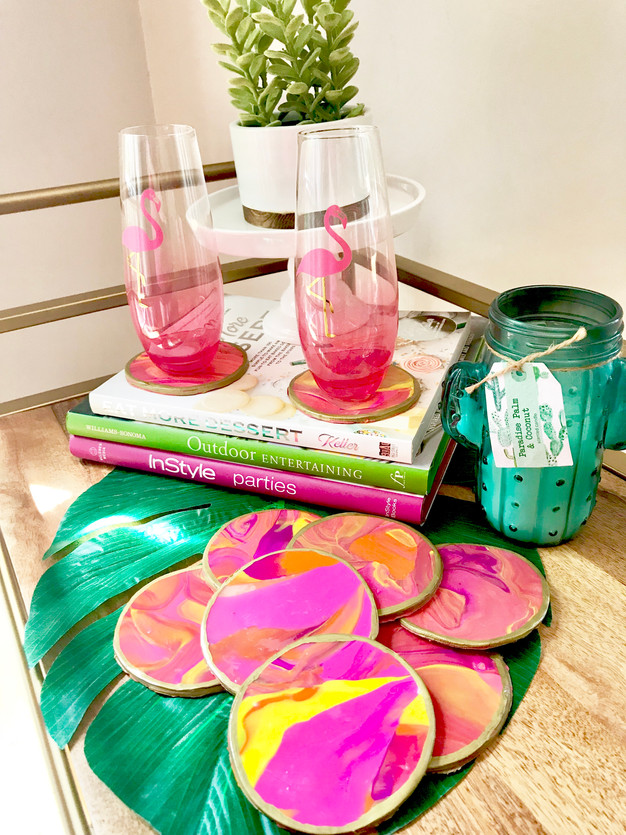
How good do they look?! I’m loving this craft! You can give them as gifts too! Just tie a set with ribbon and add a tag! Too cute! If anyone tries this, please let me know! What other DIY crafts are worth trying?

Leave a Reply